Spring is an exciting time for gardeners, especially for those of us who grow cut flowers!
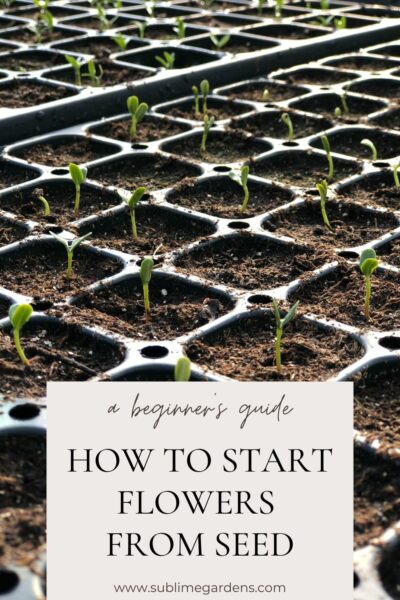
After a dark PNW winter, our most anticipated glimpse of spring is when those tender winter-sown seeds start to emerge.
The anticipation of warm summer days and fragrant blooming flowers in the garden is enough to send us into a seed-buying frenzy!
Whether you’re a seasoned gardener, or just starting out, growing and harvesting your own cut flowers will give you joy throughout spring, summer, and well into fall.
New to seed starting? No worries, just follow these steps and you’ll be on your way to growing beautiful flowers!

When to sow seeds
In most areas, the ideal time to sow warm-season annual seeds is about 6-8 weeks before your last frost (check individual seed packets to be sure).
In Western WA, we are in zone 8b with an average last frost date of mid-April so that time begins now!
It’s still pretty cold however, so do not stress if you are not ready yet! Just get your things together and start in the next week or so.
What seeds to sow
Some popular warm-season annuals are Zinnias, Cosmos, Celosia, Aster, Amaranth, Dahlia, Marigold, Gomphrena, Nasturtium, Sunflowers, and annual Phlox.
Where to sow
Seed starting can be done indoors or in an outdoor greenhouse and will allow you to get a head start on the season and have cut flowers as early as possible.
There are many ways to grow your seeds including in regular cell trays, soil blocking, and winter sowing in containers like milk jugs.
To keep things simple we will discuss starting seeds in typical cell (or plug) trays.
First, you’ll want to gather your supplies
You’ll need the following:
- The seeds you want to grow
- A clean seed tray (I mostly use 72’s, 98s, & 128s- these numbers refer to how may cells each tray has)
- Sterile seed starting/propagation mix (DO NOT use soil right out of your garden)
- A heat mat and heat mat temperature-controlled thermometer
- A clear plastic dome or clear plastic wrap
- Plant tags (or something to label your plants with)
- A spray bottle (if you re-use one don’t use one that has been used for anything else other than water)
- A metal shelf or some other surface that can get wet and dirty
- A light source. You can use a grow light, a simple shop light, or a bright window sill
Select your seeds
When choosing which seeds to start with keep in mind that seeds differ in germination time, so plan your seed-sowing dates accordingly (i.e. you may want to sow those that say start indoors 10-12 weeks before the last frost before those that say 6-8 weeks).
If you’re completely new to seed starting, you may want to begin with some of the easiest seeds to grow like sunflowers, nasturtiums, and Zinnias.
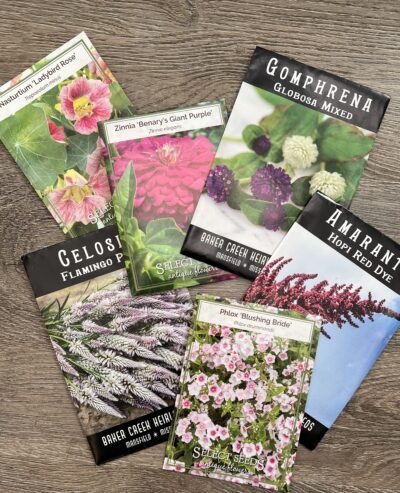
seed packets
Seed starting mix (also be referred to as propagation mix)
Next, you’ll want to fill your tray with the seed starting mix. Make sure that the mixture is moist to the touch before you put it into the tray.
If it is very dry (this is called being hydrophobic) when you go to water your tray the water will not absorb and run off the sides, taking your seeds with it.
Some mixes come moist out of the bag, but others will be very dry and will need to have water added to moisten.
You can do this in a large plastic tub or other type of container.
Sow your seeds
You will want to refer to the seed packet for the planting instructions. Most will have instructions that specify whether the seed is to be covered or not. This is important!
Some seeds should not be covered because they need light to germinate. Take extra caution when watering those seeds so that you don’t cover them with soil.
For seeds that do not need light to germinate, it is typically safe to plant them twice the depth of the long side of the seed. Again, the seed packet should state the planting depth.
I like to use a pencil to poke them into the soil mix and then cover them with a thin layer.
Label
Don’t forget this step! You may think that you will remember but if you are anything like me, you won’t!
I like to put the name of the seed, the date I sowed it, and the days it takes to germinate.
Water
Now that you have planted your seeds it is important to water them. A spray bottle is ideal for watering new seeds so that you don’t cover those that need light to germinate.
You can also bottom-water. To do this you will need to put a tray that does not have holes in the bottom underneath your cell tray and fill it up about a third of the way up the cell.
Cover
After watering, cover your tray with a clear plastic humidity dome or clear plastic wrap. This keeps the humidity high, which is ideal for germination.
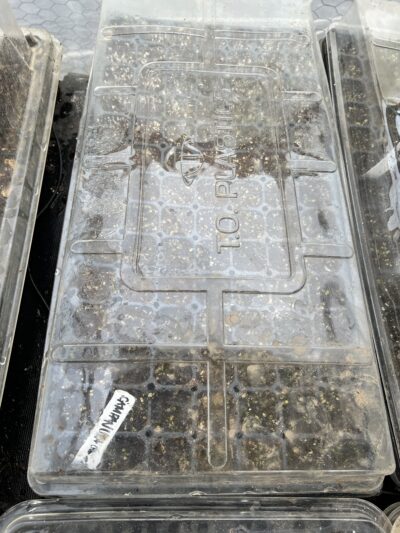
Seed tray with dome
Heat
Place your seed tray on your heat mat and set the thermometer to the appropriate temperature (again, refer to the seed packet).
Most (not all) seeds need the soil temperature to be about 60-75 degrees to germinate.
This is why using a heat mat (even if starting seeds in your home) is helpful. Even if your thermostat is set to 70 degrees the soil will be cooler than that.
Light
Place your tray under a light source (grow light or shop light) or near a south-facing window with bright light.
Use a timer (or do this manually) to set your light to be on for enough hours so that your seedlings get 16-18 hours of light each day. This will change as the days become longer.
If using a grow light, be sure to keep the light very close (an inch or two) to the seedlings so they don’t need to reach to the light and become “leggy”. You will need to raise the light as the seeds geminated and grow.
Wait & Watch & Water
Check on your seedlings often. Keep the soil evenly moist but not wet. Do not let the soil dry out. Rotate the tray daily to promote even growth if you have them near a window.
Yay, your seeds have germinated!
Once about 75% of your seeds have germinated, remove them from the heat mat (more can go on!). They still need light, however, so move them to a bright window sill or another shelf with light.
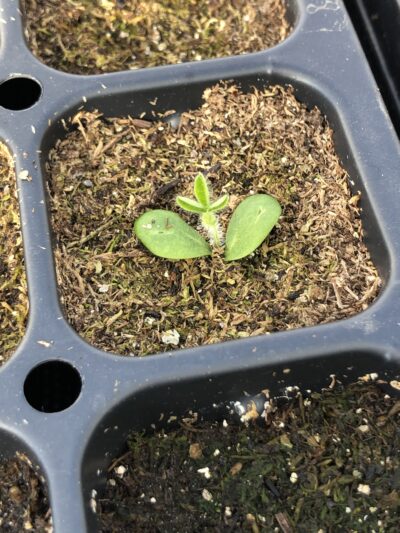
Newly emerged seedlings
Transplant
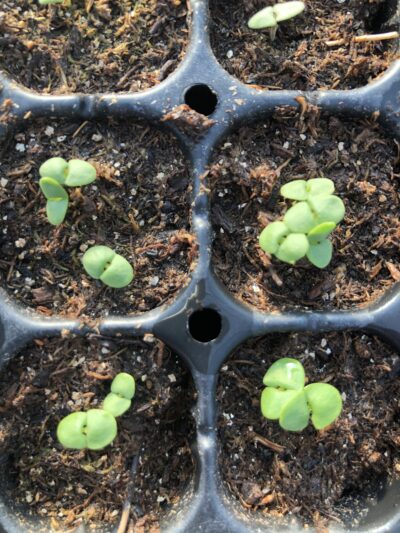
Once your seedlings have developed their first set of true leaves (the first are not actually leaves but are called cotyledons, the second set are what are considered “true” leaves) and are about and 1-2″ tall they can be transitioned outdoors, as long as outside temperatures are not too cold.
Seeds started indoors need to be “hardened off” by setting them outside during the day on a porch or other protected area (out of direct sun) to get them used to the colder temperatures and wind.
Begin with an hour or so and increase the time daily. After doing this for a few days they will be ready to be outdoors for good.
Seeds started in an unheated greenhouse, as I grow in, will grow slower but do not need to be hardened off.
Seedling true leaves (top)
Once any danger of frost has passed, they can be *typically* transplanted outdoors.
I say typically because, from experience, I have found that several warm season annuals won’t get going until the soil warms up and the nighttime lows are above 50 degrees.
If it is an unseasonably cool spring it may be better to wait rather than push them outside too fast.
Ok, I know that may sound like a lot but it’s really not as complicated as it may seem!
If you haven’t tried growing your own cut flowers from seeds, give it a try. I think you’ll be hooked!
But if not, you can come out to the farm and buy your starts from us 😊
Any questions about seed starting? Let me know in the comments!
Happy Sowing!
Heidi


Leave A Comment